As well as the computers and larger pieces of tech I have also been building a desktop oscilloscope. This was made from scratch with the odd spare item used as dressing... and a piece or two from Bob Aucutt (thanks, Bob).
At the weekend I started to paint the model, and adding some wear and tear to show it had been roughly handled.
This has two LEDs, one for the screen (yet to be made) and one for the power light.
The detail work will bring it to life...as well as the lights.
Models built for 1/6 dioramas or custom props for 1/6 figures. http://i-mc29.wixsite.com/onesixthworld
Monday, 23 April 2018
Retro Computers - Part 5
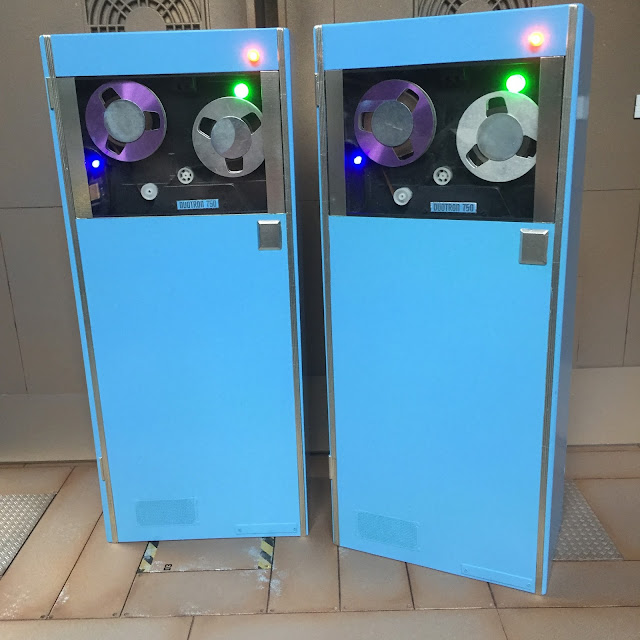
Made a lot of progress over the weekend... I was able to paint the two tape drive cabinets and get them to a point where they are now roughly 95% complete.
First I painted them a nice shade of Rust-Oleum light blue, masking off the tape drive sections...
Once they had dried I then added chrome foil and fixed the clear plastic tape covers in place.
Here is a figure to show their size...
I still have the back to paint, add a wash to the grille on the lower front, and add some text here and there (model number, branding, etc)
Nearly there... then I can concentrate on the mainframe unit... which still has a roof and some details to be added.
Friday, 20 April 2018
Retro Computers Part 4
Well, with the nice weather, after work yesterday I decided to prime the two main computer cabinets... and ran out of primer. Still, at least I got the fronts done. I'll get more primer soon to finish them off...
This is one of them with the clear panel just resting in place over the tape drive
The colour of the cabinets will be Coral Blue... this lovely Tamiya spray paint.
This is one of them with the clear panel just resting in place over the tape drive
The colour of the cabinets will be Coral Blue... this lovely Tamiya spray paint.
Monday, 16 April 2018
Corridor
While I wait for better weather to start painting my 1/6 computers I got on with my biggest diorama set to date - a generic SF corridor. It's fairly simple but allows the figures to be photographed without going into close-up all the time.
It's made from 5mm and 10mm Foamex PVC board, the material used for sign making. It's very light and easy to cut with a craft knife.
The fans are simply plastic fan covers from a PC spares shop on eBay.
I painted the model in a mix of grey acrylic car primer and copper acrylic spray paint to create a metallic greyish colour base coat... which will be weathered and marked up.
This is the basic floor part.
And with some weathering and lining added...
The walls were also base-coated, but these need more detail added, such as lighting and other greebles...
Looks good with Daleks...
Subscribe to:
Comments (Atom)


